
DIY Flying Monkey Stuffed Animal Costume
Bring your Oz-themed party to life with this whimsical Flying Monkey Costume designed for stuffed animals! Whether you’re crafting a character for a scavenger hunt, themed décor, or just want an unforgettable party companion, this DIY costume template helps you turn any plush into an iconic flying monkey from from your favorite world of Oz.
What’s Included:
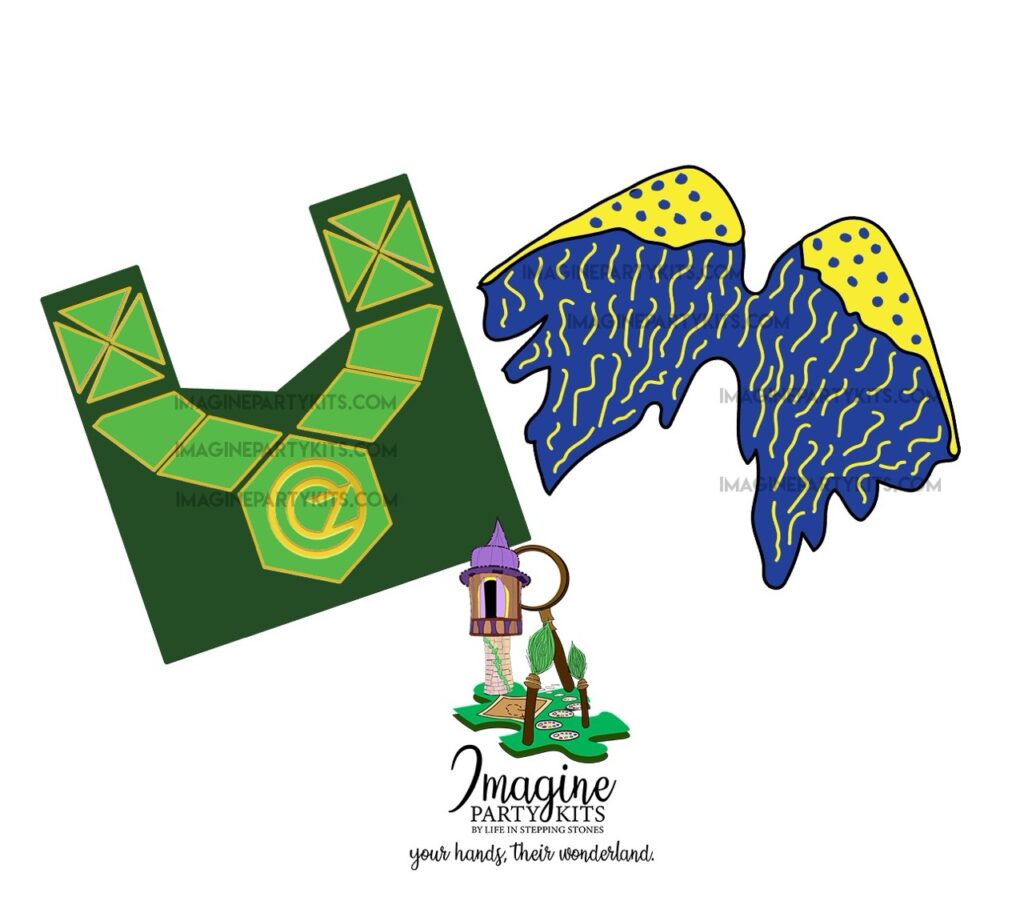
🧥 Three Cricut Layer Files for the Green Vest (PNG)
🪽 Two Cricut Layer Files for the Wings (PNG)
All files are resizable in Cricut Design Space to fit your specific stuffed animal.
What You’ll Need:
- Green felt
- Blue felt
- Gold iron-on foil (for Cricut)
- Green iron-on vinyl (for Cricut)
- Cricut Easy Press or standard iron
- Cricut rotary blade
- Elastic strips
- Green and blue thread
- Sewing needle
Assembly Instructions:
- Size the files in Cricut Design Space based on your stuffed animal.
- Wings:
- Cut blue felt using the wing file.
- Cut the gold foil pattern (make sure to mirror the image!)
- Iron the foil design onto the wings using a Cricut Easy Press or iron.
- Vest:
- Cut the base shape from green felt.
- Cut and mirror the green vinyl and gold foil layers.
- Iron the vinyl onto the vest first, then add the foil.
- Wing Attachment:
- Test-fit the wings on your stuffed animal. If the wings don’t fan out enough, cut them apart and sew a felt or elastic strip between them.
- Sew elastic loops onto the wings to secure them around the plush toy’s body.
- Vest Finishing:
- Sew the vest onto the front of the elastic, covering the bands for a clean, finished look.
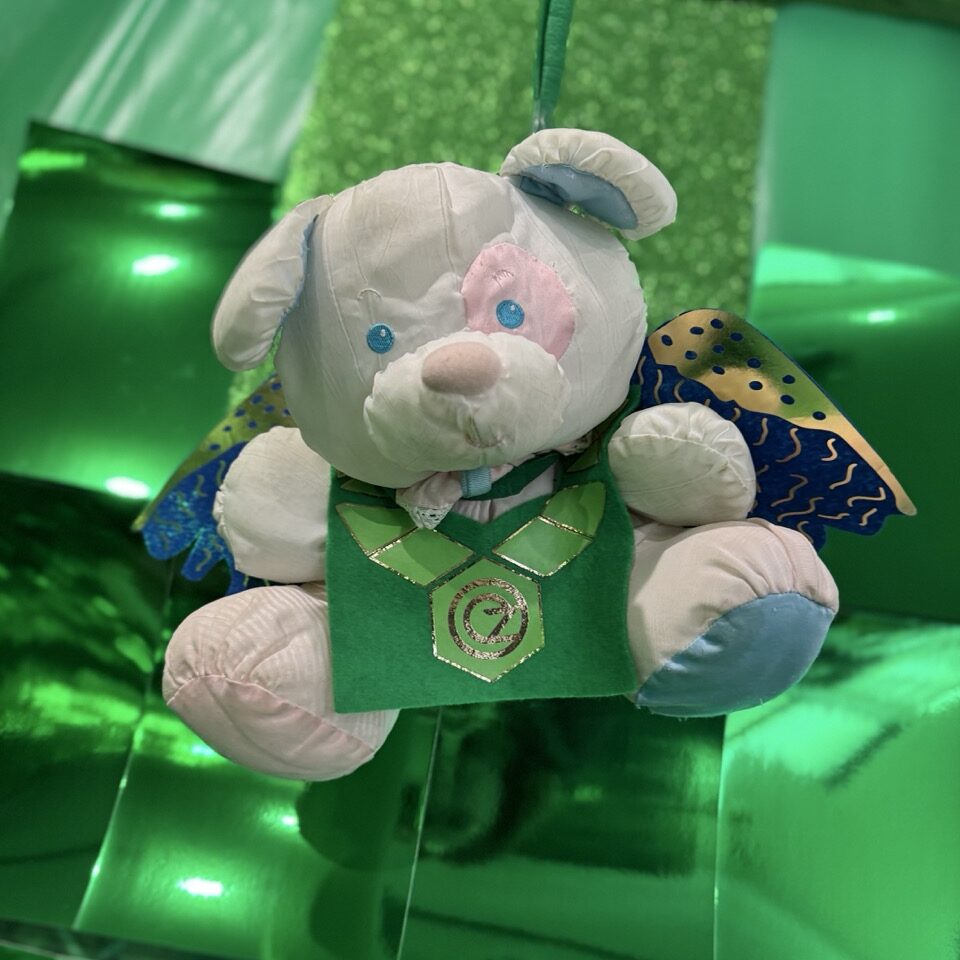
This costume is a fun and crafty way to add character to your Great Oz Escape or Wizard of Oz-themed party, and makes a perfect keepsake once the adventure is over!